Browse entries
There are two ways to browse your journal entries: use the List/Calendar control at the bottom of the view to switch between the List and Calendar modes.
List
Newer entries appear at the top of the list. Scroll down to see earlier entries.
Calendar
If a calendar date is highlighted, that means there's an entry on that date. The highlight color reflects the emotion you assigned to that entry.
- Select a date to see the entry for that date.
- Select an empty date to create a new entry for that date.
- Click the date in the bar above the calendar to jump to One Month Ago, One Year Ago, Two Years Ago, etc.
Create an entry
Click ![]() to create a new entry for today’s date. To create an entry for a different date, select that date in the calendar view.
to create a new entry for today’s date. To create an entry for a different date, select that date in the calendar view.
Search your entries

- Switch to the entry list by clicking the List button below the calendar if necessary.
- iPhone, iPad: scroll to the top of the entry list until you see the search field.
- Type one or more search words into the search field at the top of the entry list.
The entry list will filter to only show the entries that contain the search word(s).
Move/delete entries
Entries can be moved from one journal to another. Or they can be deleted (which moves them to the Trash).
On your iPhone/iPad
- Tap the More button (···) above the entry list.
- Tap the Select button in the More view.
- Select the entries you want to move, then tap Move or Delete at the bottom of the entry list.
- Choose the journal where you'd like the entries moved.
To move a single entry, you can also:
- Touch and hold the entry in the entry list, then select Move.
- Or swipe LEFT ⇠ over the entry in the entry list and select MOVE.
When you delete an entry, it’s moved to the Trash folder (see Journal List).
On your Mac
Select the entries you want to move/delete. You can hold down the Shift or Command key to select multiple entries. Or choose Edit > Select All to select every entry in the list.
To move the selected entries, drag & drop them onto a journal in the Journal list. To delete the entries, press the Delete key on your keyboard. Deleted entries are moved to the Trash folder (see Journal List).
Filter entries by tag
You can filter the visible entries by selecting one or more tags (requires Lifecraft Premium).
- Click the More button (···) above the entry list.
- Select Filter by Tag.
- Select one or more tags in the Tags view.
The entry list will only show the entries that include the selected tags. To reset the filtering, click the More button (···) and choose Stop Filtering.
Filter entries by emotion
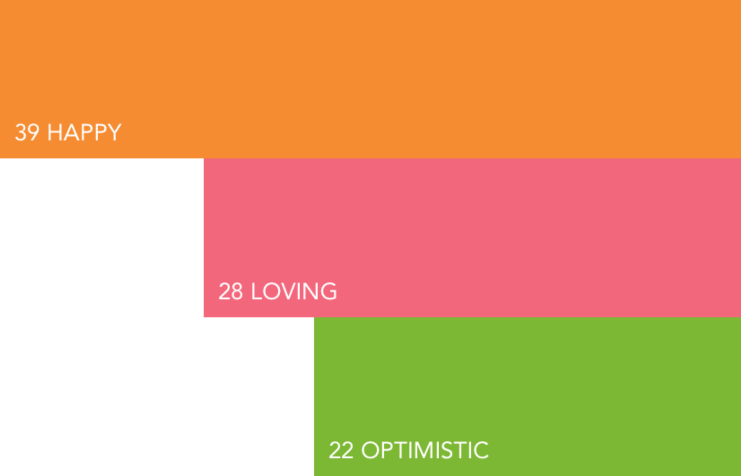
You can filter the entry list to only show the entries that include a particular emotion. Click the More button (···) at the top of the entry list, then select Filter by Emotion in the More view. An Emotion Bar chart will open, which shows the number of entries that include each emotion:
Select a primary or secondary emotion
- Click a primary emotion bar, such as Happy. The secondary emotion bars will appear.
- To filter on ALL Happy emotions, click the All Happy button above the chart.
- To filter on a SINGLE emotion such as Cheerful, select the Cheerful bar.
- To select a different primary emotion, click the back arrow button (or swipe right on the iPhone/iPad).
When filtering, the entry list will only show the entries that include the selected emotion. To reset the filtering, click the More button (···) and choose Stop Filtering.
Learn more
Comments
0 comments
Article is closed for comments.